

Ultimate Guide to Custom Accessories: Embroidered Hats, Patches, and More
Types of Custom Patches for AccessoriesEmbroidered vs. Iron-On Patches
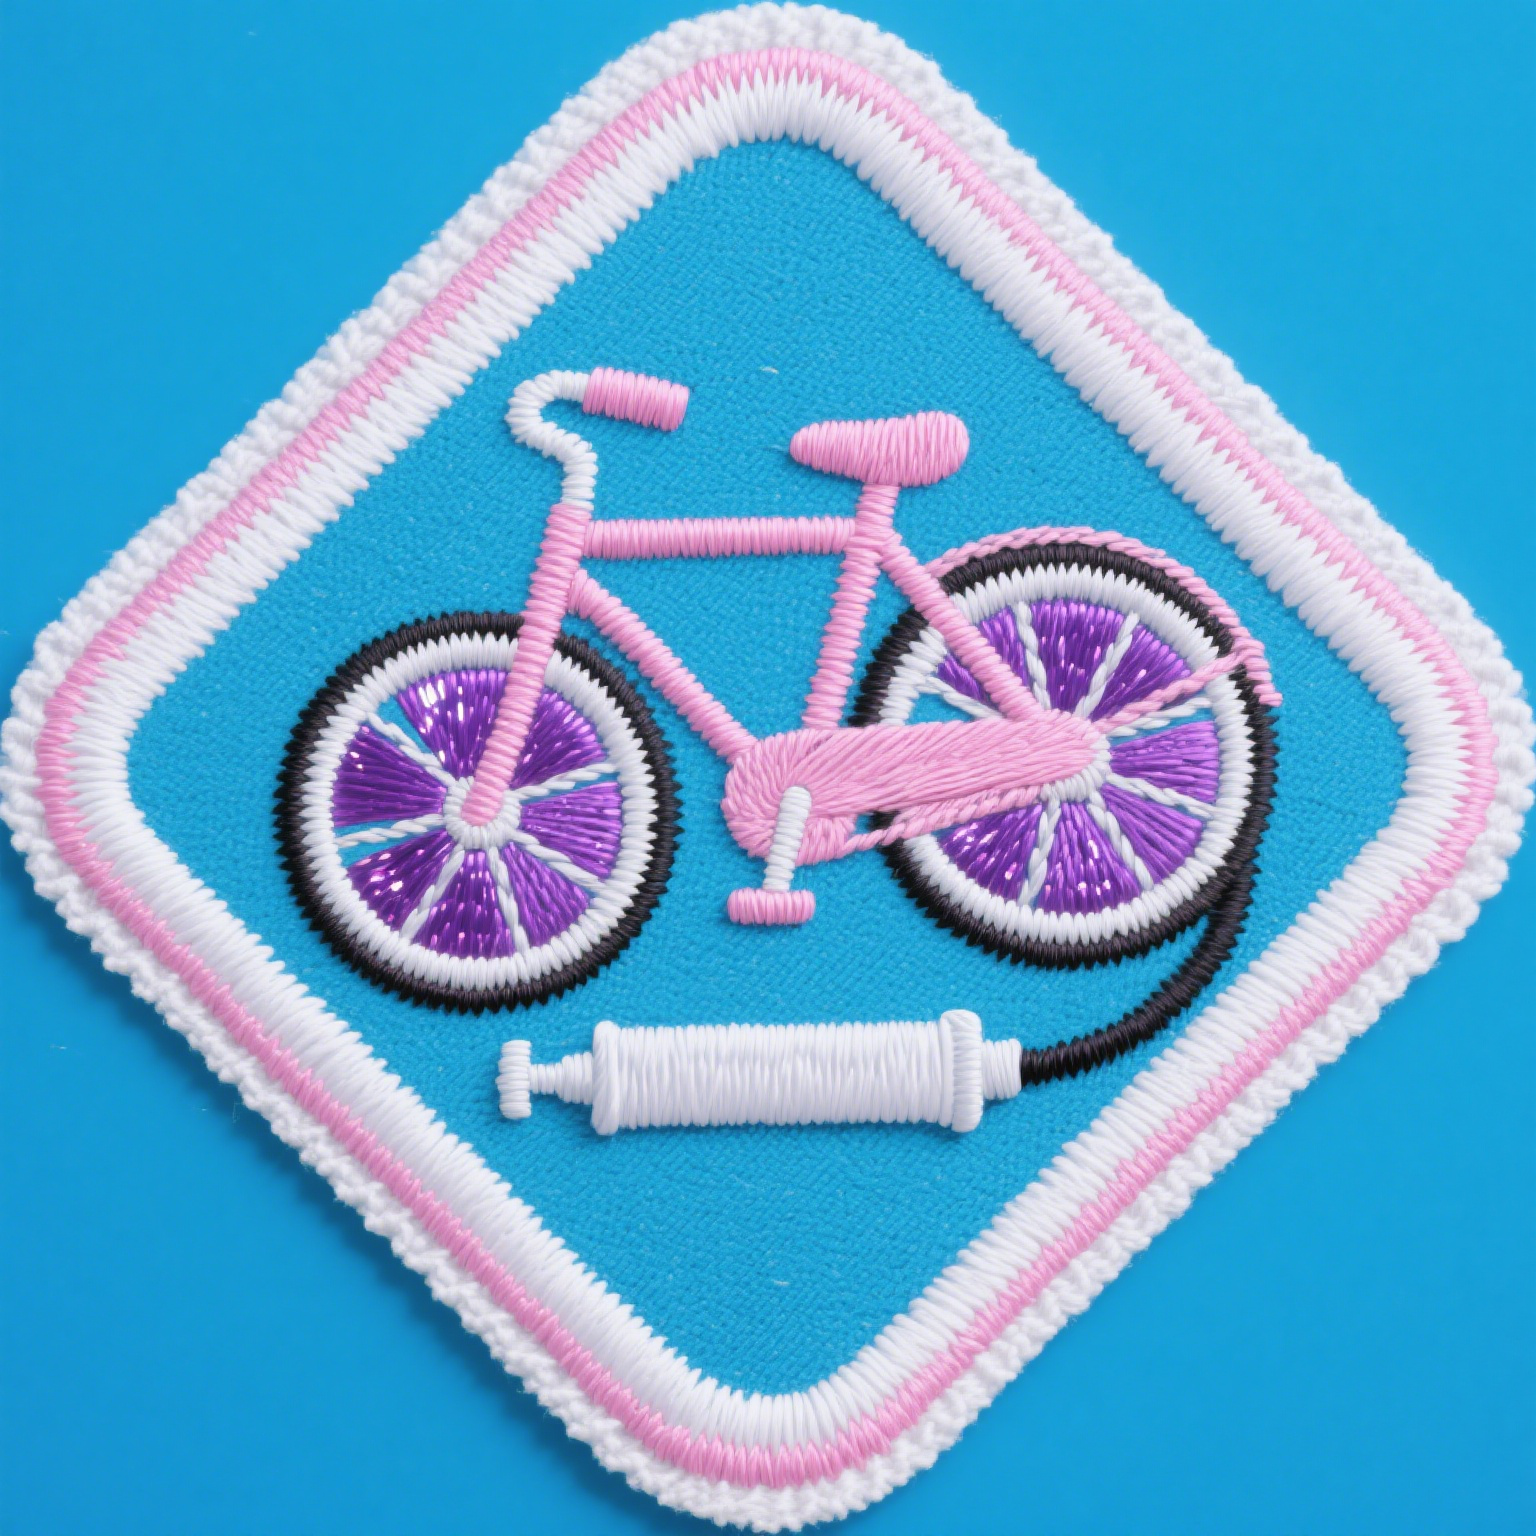
Embroidered patches tend to catch the eye when talking about custom options because of how good they look and how long they last. Most companies go for them since they give off th...
View More