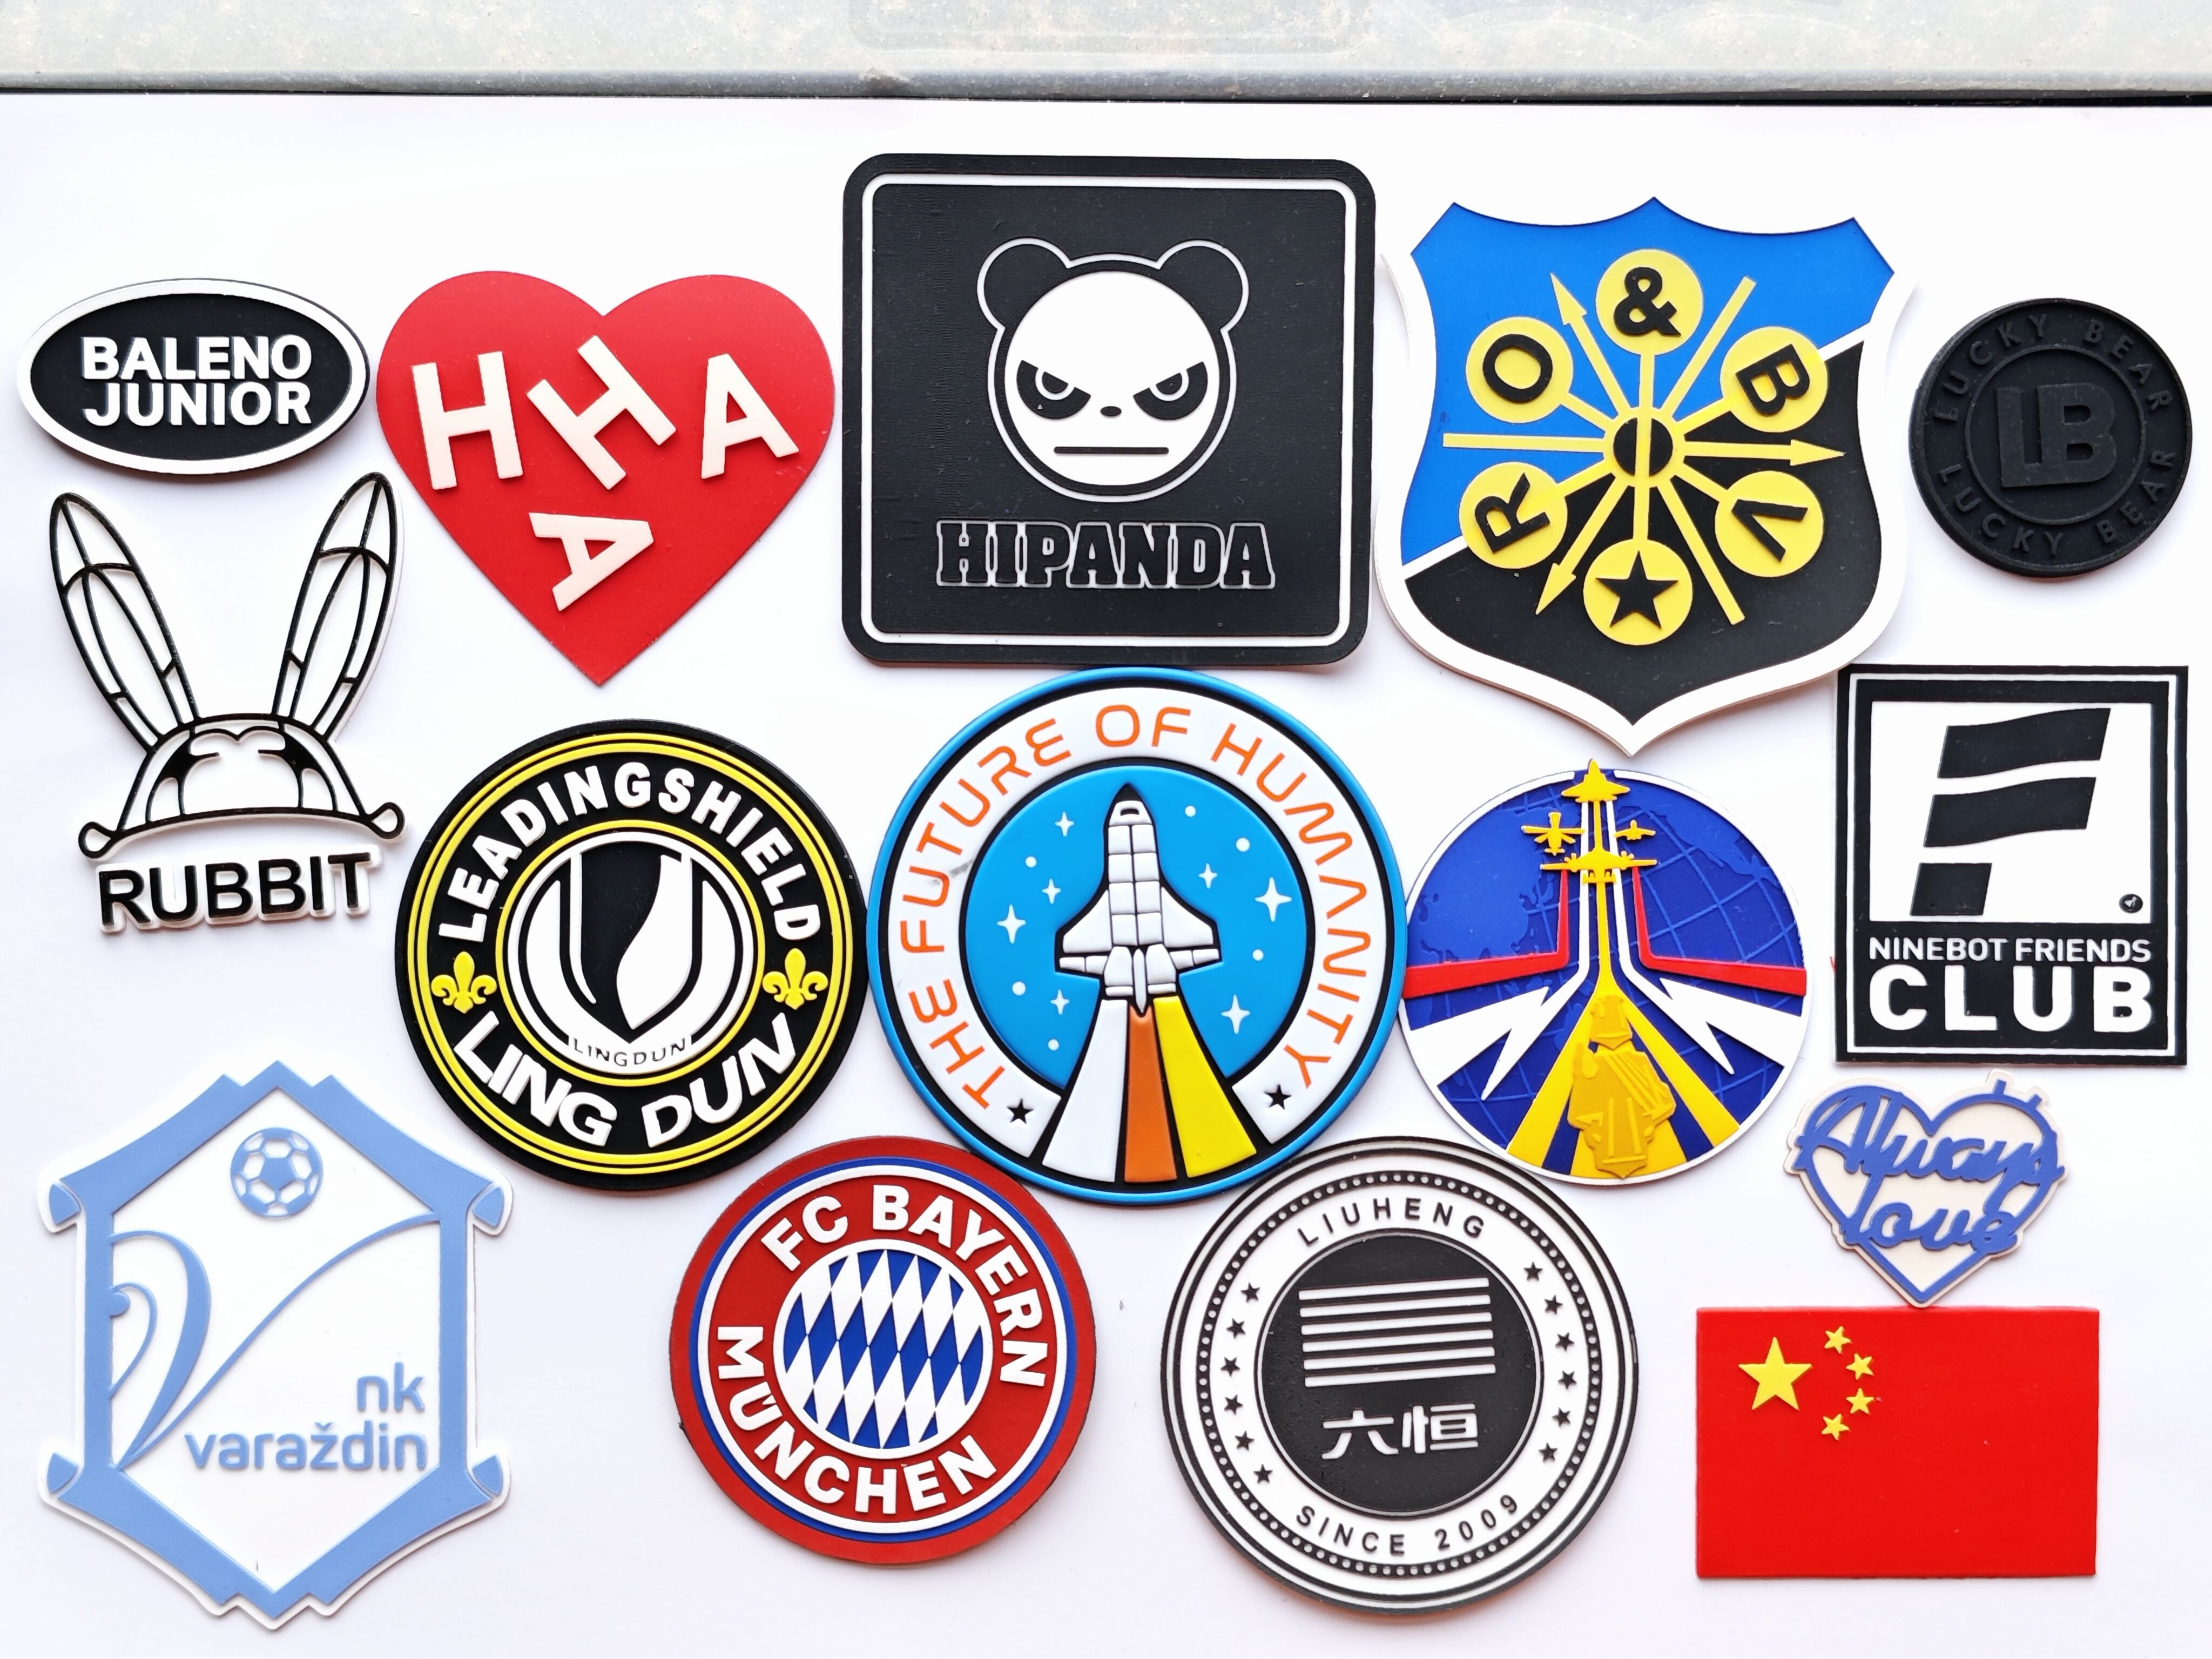
How to Iron On Patches: Step-by-Step Guide for Perfect Application

Get a Free Quote

Our representative will contact you soon.
Email
Mobile/Whatsapp
Name
Company Name
Message
0/1000
How to Iron On Patches: Step-by-Step Guide for Perfect Application

How to Iron On Patches: Step-by-Step Guide for Perfect Application

Learn the simple steps to apply our iron-on patches flawlessly. First, prepare the fabric surface by ensuring it’s clean and dry. Place the patch on the desired location with the adhesive side down. Cover the patch with a thin cloth to protect both the patch and fabric. Set your iron to the appropriate temperature (check fabric care labels) and apply firm pressure for 10-15 seconds, moving the iron evenly over the patch. Let it cool completely before testing adhesion. For extra durability, turn the fabric inside out and iron the back of the patch for another 10 seconds. Our iron-on patches feature reliable heat-activated adhesive, and following these steps ensures a secure bond that withstands daily wear. Need help? Our team is available to support your patch application needs.
Get A Quote

Advantages of the product

Tips for Successful Iron-On Patch Application

For optimal results, our tips for iron-on patch application advise ensuring the fabric is clean and dry, using a dry iron (no steam), and applying even pressure for the required duration. Following these guidelines helps prevent common issues like poor adhesion or fabric damage, ensuring the patch stays in place and looks great for longer.

Safety Guidelines for Iron-On Patch Application

Our how to iron on patches information includes safety guidelines: avoid ironing over buttons or delicate materials, let the patch cool completely before use, and follow specific instructions for each patch type. These guidelines prioritize user safety and protect both the patch and the item, preventing accidents and ensuring a successful application.

Related products

Personalized iron on patches allow individuals and brands to create unique, custom-designed embellishments for various applications. These patches start with a design consultation to translate ideas into digital concepts, leveraging tools like Adobe Illustrator for precision. Material options range from soft woven fabrics for subtle looks to durable silicone for a more tactile feel. DTF printing enables full-color, photo-realistic designs, while laser-cutting ensures intricate shapes like monograms or abstract patterns. The heat transfer process is tailored to the end use, whether for clothing, bags, or home decor, with parameters adjusted for different fabrics. For personalization, options like name embroidery, date stamps, or custom artwork are available. An ISO 9001-certified quality control process ensures each patch meets standards for adhesion and durability. Contact us to start creating your personalized iron on patches, from concept to production.

common problem

What steps should be followed to iron on patches correctly?

First, preheat the iron to the specified temperature. Place the patch on the desired area with the adhesive side down. Cover it with a thin cloth, apply firm pressure for 10-15 seconds, and let it cool before checking adhesion.
No. Avoid using on delicate fabrics like silk or nylon. Check the patch instructions and test on a small, inconspicuous area first to ensure the fabric can withstand the heat without damage.
Yes. For patches with 3D elements or multiple layers, use a lower heat setting and apply pressure evenly. Avoid moving the iron back and forth; hold it stationary over each section.

Related article

Top Trends in Custom Embroidery: From Baseball Hats to Iron-On Patches

23

May

Top Trends in Custom Embroidery: From Baseball Hats to Iron-On Patches

View More
Tips for Locating the Best Custom Embroidery Near You

23

May

Tips for Locating the Best Custom Embroidery Near You

View More
Custom Embroidered Patches: How to Create Personalized Emblems for Your Gear?

07

Jun

Custom Embroidered Patches: How to Create Personalized Emblems for Your Gear?

View More
Custom Ink Shirts: Express Your Creativity Through Unique Printing Designs

07

Jun

Custom Ink Shirts: Express Your Creativity Through Unique Printing Designs

View More

User evaluation of the product

Maria Sanchez

The company’s advice to wait 24 hours before washing and use cold water extended my patches’ life. I applied them to a canvas backpack, and they’ve withstood daily use for months. The FAQ section on their site answered all my questions, from fabric compatibility to reapplication tips. Knowledgeable support makes a difference.

Ava Rodriguez

I was skeptical about iron on patches for the long term, but these exceeded expectations. The detailed FAQ section explained how to reapply heat for better adhesion, which saved a patch that started lifting. The DTF printing kept colors vibrant, and the laser-cut edges never frayed. A durable solution for temporary and semi-permanent designs.

Get a Free Quote

Our representative will contact you soon.
Email
Mobile/Whatsapp
Name
Company Name
Message
0/1000
Aftercare Tips for Iron-On Patches

Aftercare Tips for Iron-On Patches

To maintain the durability of iron-on patches, our aftercare guide recommends washing items inside out in cold water, avoiding bleach and high-temperature drying. Following these aftercare steps extends the patch's lifespan, keeping it looking fresh and secure even after multiple washes, and maximizing its value for users.