How to Iron On Patches: Step-by-Step Guide for Perfect Application

Get a Free Quote

Our representative will contact you soon.
Email
Mobile/Whatsapp
Name
Company Name
Message
0/1000
How to Iron On Patches: Step-by-Step Guide for Perfect Application

How to Iron On Patches: Step-by-Step Guide for Perfect Application

Learn the simple steps to apply our iron-on patches flawlessly. First, prepare the fabric surface by ensuring it’s clean and dry. Place the patch on the desired location with the adhesive side down. Cover the patch with a thin cloth to protect both the patch and fabric. Set your iron to the appropriate temperature (check fabric care labels) and apply firm pressure for 10-15 seconds, moving the iron evenly over the patch. Let it cool completely before testing adhesion. For extra durability, turn the fabric inside out and iron the back of the patch for another 10 seconds. Our iron-on patches feature reliable heat-activated adhesive, and following these steps ensures a secure bond that withstands daily wear. Need help? Our team is available to support your patch application needs.
Get A Quote

Advantages of the product

Tips for Successful Iron-On Patch Application

For optimal results, our tips for iron-on patch application advise ensuring the fabric is clean and dry, using a dry iron (no steam), and applying even pressure for the required duration. Following these guidelines helps prevent common issues like poor adhesion or fabric damage, ensuring the patch stays in place and looks great for longer.

Safety Guidelines for Iron-On Patch Application

Our how to iron on patches information includes safety guidelines: avoid ironing over buttons or delicate materials, let the patch cool completely before use, and follow specific instructions for each patch type. These guidelines prioritize user safety and protect both the patch and the item, preventing accidents and ensuring a successful application.

Related products

Applying iron on patches correctly ensures secure adhesion and longevity, and HuBei XingXinDA provides professional guidance on the process. First, prepare the fabric surface by cleaning it to remove dust or oils. Position the patch on the desired area, ensuring it is aligned correctly. Use a household iron set to the appropriate temperature (typically medium heat, no steam), or a heat press for commercial applications. Apply firm pressure evenly across the patch for 10-15 seconds, following the manufacturer’s instructions. Allow the patch to cool completely before testing adhesion. For best results, avoid washing the item immediately after application. HuBei XingXinDA’s high-quality iron on patches are designed for easy application, but for specific product instructions or bulk application tips, contact the team to discuss your needs and ensure proper technique.

common problem

What steps should be followed to iron on patches correctly?

First, preheat the iron to the specified temperature. Place the patch on the desired area with the adhesive side down. Cover it with a thin cloth, apply firm pressure for 10-15 seconds, and let it cool before checking adhesion.
Reheat the patch with the iron, applying more pressure. Ensure the fabric is clean and dry before application. If issues persist, consider sewing the patch for added durability.
Yes. For patches with 3D elements or multiple layers, use a lower heat setting and apply pressure evenly. Avoid moving the iron back and forth; hold it stationary over each section.

Related article

How to Design Custom Embroidered Patches for Hats and Apparel

16

Jun

How to Design Custom Embroidered Patches for Hats and Apparel

Understanding the Basics of Custom Embroidered Patches 
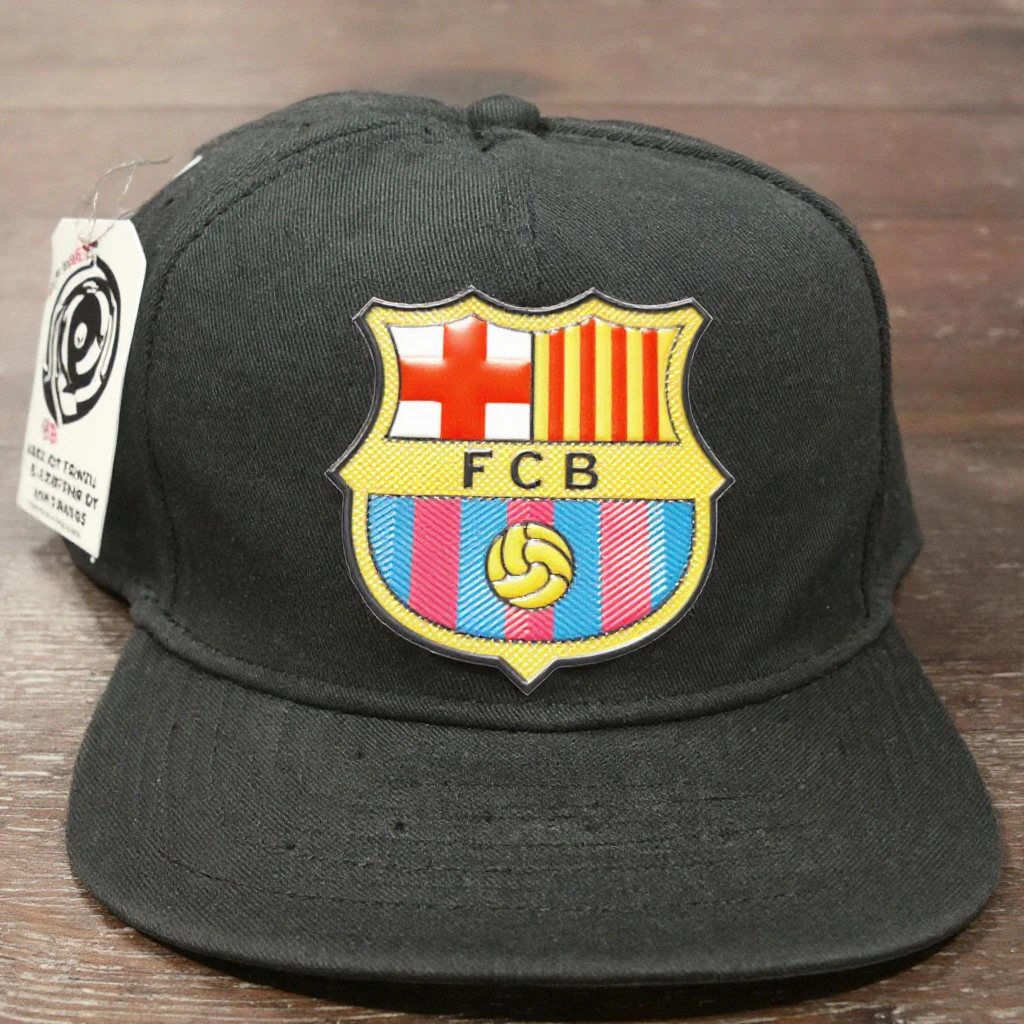
What Are Embroidered Patches? Embroidered patches, sometimes called cloth badges, are basically decorative fabric items where designs get made from thread. These things have been around for ages...
View More
Tips for Locating the Best Custom Embroidery Near You

16

Jun

Tips for Locating the Best Custom Embroidery Near You

Understanding Custom Embroidery ServicesTypes of Custom Embroidery: Patches vs. Apparel When it comes to custom embroidery, there are basically two big categories we're talking about here: patches and clothing items. These things serve completely dif...
View More
DIY Guide: Iron-On Patches vs. Embroidered Patches - Which is Right for You?

16

Jun

DIY Guide: Iron-On Patches vs. Embroidered Patches - Which is Right for You?

Understanding Iron-On vs. Embroidered Patches Definition of Iron-On Patches: Heat-Activated Adhesive Backing Iron on patches work great when someone wants something fast and easy to put on clothes or other stuff. The back has special glue that gets...
View More
Velcro Patches: The Convenient Solution for Easy Attachment and Detachment

16

Jun

Velcro Patches: The Convenient Solution for Easy Attachment and Detachment

Understanding Velcro Patches and Their Mechanism Hook-and-Loop Technology Explained Discover how hook-and-loop fasteners, patented by George de Mestral in the 1940s, has changed the way buttons and zippers work with its simple yet inspired i...
View More

User evaluation of the product

Maria Sanchez

The company’s advice to wait 24 hours before washing and use cold water extended my patches’ life. I applied them to a canvas backpack, and they’ve withstood daily use for months. The FAQ section on their site answered all my questions, from fabric compatibility to reapplication tips. Knowledgeable support makes a difference.

Jason Taylor

As a parent, I was worried about heat damage, but the safety precautions were thorough. The temperature recommendations for kids’ clothing (lower heat, shorter time) worked perfectly, and the adhesive is non-toxic. My kids love customizing their backpacks, and I love that it’s a safe activity. Well-thought-out instructions.

Get a Free Quote

Our representative will contact you soon.
Email
Mobile/Whatsapp
Name
Company Name
Message
0/1000
Aftercare Tips for Iron-On Patches

Aftercare Tips for Iron-On Patches

To maintain the durability of iron-on patches, our aftercare guide recommends washing items inside out in cold water, avoiding bleach and high-temperature drying. Following these aftercare steps extends the patch's lifespan, keeping it looking fresh and secure even after multiple washes, and maximizing its value for users.