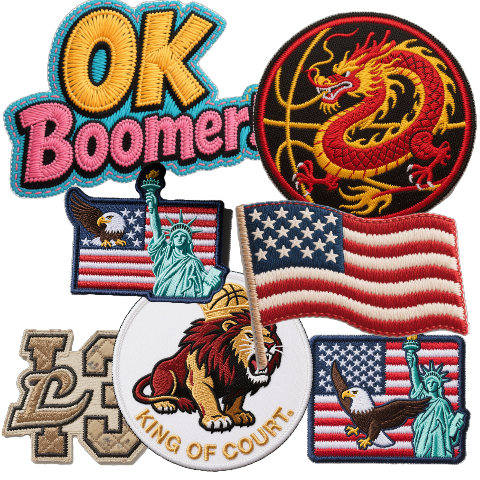
How to Iron On Patches: Step-by-Step Guide for Perfect Application

Get a Free Quote

Our representative will contact you soon.
Email
Mobile/Whatsapp
Name
Company Name
Message
0/1000
How to Iron On Patches: Step-by-Step Guide for Perfect Application

How to Iron On Patches: Step-by-Step Guide for Perfect Application

Learn the simple steps to apply our iron-on patches flawlessly. First, prepare the fabric surface by ensuring it’s clean and dry. Place the patch on the desired location with the adhesive side down. Cover the patch with a thin cloth to protect both the patch and fabric. Set your iron to the appropriate temperature (check fabric care labels) and apply firm pressure for 10-15 seconds, moving the iron evenly over the patch. Let it cool completely before testing adhesion. For extra durability, turn the fabric inside out and iron the back of the patch for another 10 seconds. Our iron-on patches feature reliable heat-activated adhesive, and following these steps ensures a secure bond that withstands daily wear. Need help? Our team is available to support your patch application needs.
Get A Quote

Advantages of the product

Clear Instructions for Easy Iron-On Patch Application

Our guide on how to iron on patches provides clear, step-by-step instructions: place the patch on the item, cover with a cloth, iron at the specified temperature and pressure for the recommended time. This ensures proper adhesion without damaging the fabric, making the application process straightforward and accessible for anyone, even without prior experience.

Troubleshooting for Iron-On Patch Application

If an iron-on patch doesn't adhere properly, our troubleshooting tips suggest checking the iron temperature, reapplying pressure for a longer time, or ensuring the fabric surface is suitable. This helps users solve common application issues quickly, saving time and effort, and ensuring the patch works as intended.

Related products

Iron on patches for pets add a personalized touch to pet accessories like collars, harnesses, or blankets. These patches are crafted to withstand pet activities and washing while remaining safe for animals. Soft, non-irritating materials are essential, such as silicone or TPU, which are flexible and gentle against pet skin. Design elements may include pet names, cute icons, or contact information for identification purposes. Laser-cutting technology ensures precise edges, preventing fraying that could pose a choking hazard. The heat transfer process must be optimized for pet product materials, like nylon webbing or canvas, to ensure strong adhesion without damaging the base fabric. Customization allows for unique shapes, such as bones or paw prints, and vibrant colors that resist fading from sunlight or washing. For pet product brands, working with a supplier experienced in apparel accessories can ensure patches meet safety and durability standards. Reach out to explore how our iron on patches can enhance your pet product line.

common problem

Can iron on patches be applied to all fabric types?

No. Avoid using on delicate fabrics like silk or nylon. Check the patch instructions and test on a small, inconspicuous area first to ensure the fabric can withstand the heat without damage.
Reheat the patch with the iron, applying more pressure. Ensure the fabric is clean and dry before application. If issues persist, consider sewing the patch for added durability.
Yes. For patches with 3D elements or multiple layers, use a lower heat setting and apply pressure evenly. Avoid moving the iron back and forth; hold it stationary over each section.

Related article

Tips for Locating the Best Custom Embroidery Near You

23

May

Tips for Locating the Best Custom Embroidery Near You

View More
DIY Guide: Iron-On Patches vs. Embroidered Patches - Which is Right for You?

23

May

DIY Guide: Iron-On Patches vs. Embroidered Patches - Which is Right for You?

View More
Custom Embroidered Patches: How to Create Personalized Emblems for Your Gear?

07

Jun

Custom Embroidered Patches: How to Create Personalized Emblems for Your Gear?

View More
Custom Ink Shirts: Express Your Creativity Through Unique Printing Designs

07

Jun

Custom Ink Shirts: Express Your Creativity Through Unique Printing Designs

View More

User evaluation of the product

Emma Wilson

The step-by-step guide for iron on patches was incredibly user-friendly. As a newbie, I appreciated the clear instructions on temperature settings and application duration. The tip to use a thin cloth prevented any scorching on my cotton tee, and the patch has stayed firmly attached through 10+ washes. The fabric compatibility chart on the website was a lifesaver for avoiding damage to delicate materials.

David Miller

The logistics of applying iron on patches were simplified by the company's clear communication. They included a printed instruction card with my order, outlining each step from preheating to cooling. The real-time tracking on my order also helped me plan around delivery, ensuring I had all tools ready. A seamless experience from start to finish.

Get a Free Quote

Our representative will contact you soon.
Email
Mobile/Whatsapp
Name
Company Name
Message
0/1000
Aftercare Tips for Iron-On Patches

Aftercare Tips for Iron-On Patches

To maintain the durability of iron-on patches, our aftercare guide recommends washing items inside out in cold water, avoiding bleach and high-temperature drying. Following these aftercare steps extends the patch's lifespan, keeping it looking fresh and secure even after multiple washes, and maximizing its value for users.